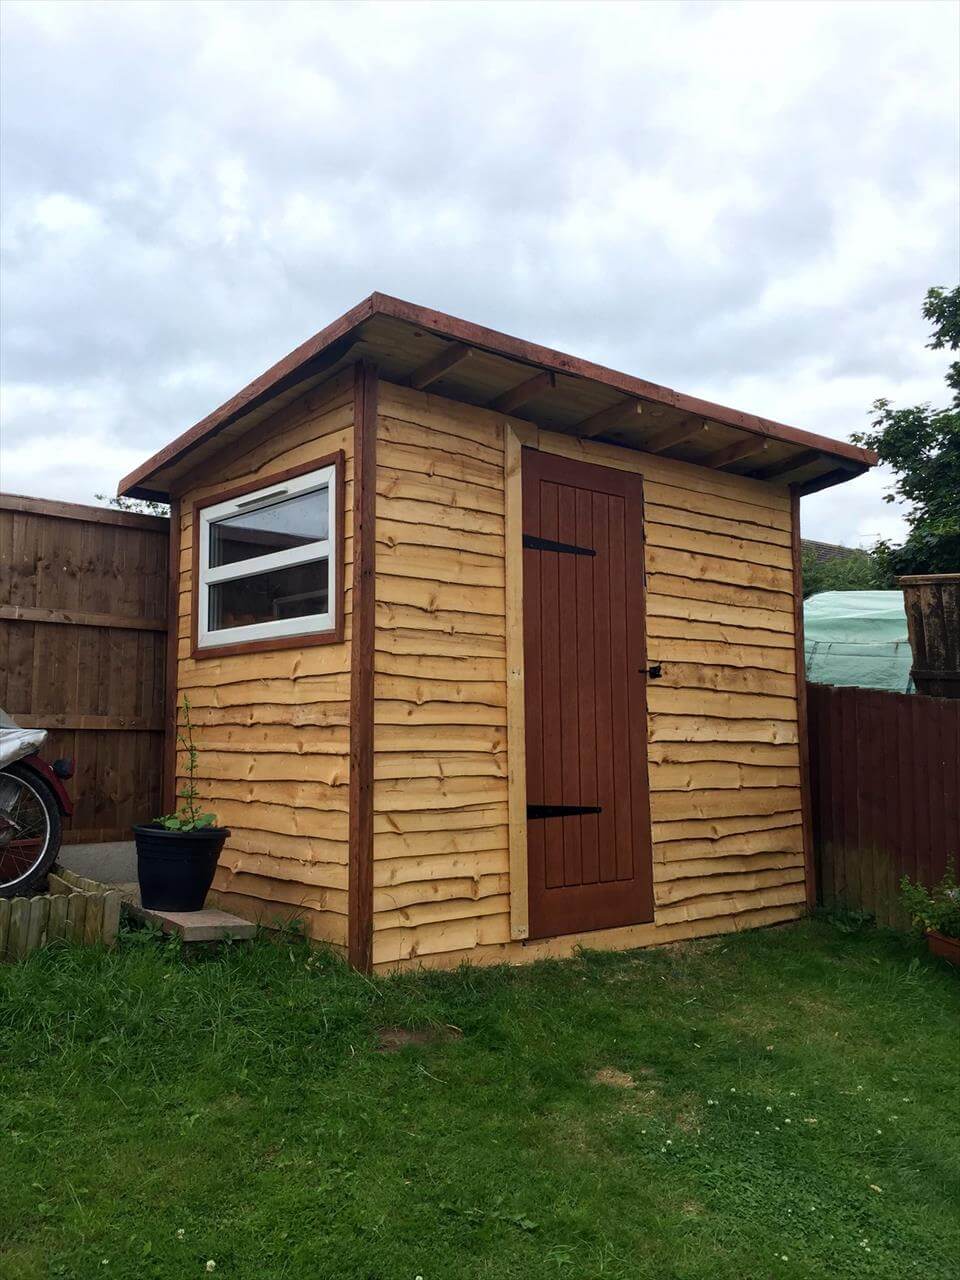
Building Your Dream DIY Loft Shed: A Beginner's Guide
So, you're dreaming of a beautiful, functional shed â€" maybe for storage, a workshop, or even a cozy little getaway? But the thought of hiring a contractor feels… daunting. Don't worry, friend! Building a DIY loft shed is totally achievable, even if you're a complete beginner. This guide will walk you through every step, in a way that’s easy to understand and follow, even if your toolbox looks suspiciously empty right now.

Phase 1: Planning and Preparation â€" Laying the Groundwork (Literally!)
Before you even think about touching a hammer, careful planning is key. This phase sets the stage for a successful build, saving you headaches down the line.

1. Choosing Your Location and Shed Size:
Where will your masterpiece reside? Consider factors like sunlight, access to power (if needed), proximity to your house, and local regulations. Measure the space carefully â€" you'll need accurate dimensions for materials ordering. Decide on the overall size of your shed, bearing in mind your storage needs and the available space. Think about how big you want the loft to be, too! A small shed with a spacious loft might be a better choice than a giant shed with limited loft space.
2. Securing the Necessary Permits:
This is crucial! Check with your local council or homeowner's association about building permits. They might have specific requirements regarding shed size, materials, and location. Ignoring this step could lead to fines or even having to dismantle your hard work. Better to be safe than sorry!
3. Gathering Your Tools and Materials:
Here’s where things get exciting (and maybe a little overwhelming). Don't worry, you don't need a professional-grade arsenal. You'll need the basics like a measuring tape, level, shovel, saw, hammer, screwdriver, drill, and safety glasses (seriously, safety first!). For materials, you'll need pressure-treated lumber for the foundation and framing, roofing materials (asphalt shingles are a popular choice for beginners), siding (consider something low-maintenance), and screws/nails. Create a detailed list, double-check quantities, and visit your local lumber yard or hardware store.
4. Preparing the Foundation:
A solid foundation is the backbone of your shed. For a beginner-friendly approach, consider a concrete slab or a compacted gravel base. For a concrete slab, you'll need to rent or borrow a concrete mixer, but it provides the most stable foundation. A compacted gravel base is cheaper and easier but might require more maintenance in the long run.
Phase 2: Construction â€" Building the Frame
Now for the fun part! This is where your shed starts to take shape.
1. Building the Floor Frame:
Using your pressure-treated lumber, construct a sturdy frame for the floor, ensuring it’s level and square. This will be the base for your entire structure, so take your time and double-check measurements.
2. Erecting the Walls:
Build the wall frames, following your pre-determined dimensions. Remember to account for door and window openings. Once the frames are assembled, secure them to the floor frame.
3. Constructing the Loft Frame:
This is where the loft comes in! Decide on the height and size of your loft, and build a frame to support it. This frame will typically be attached to the main wall frames. Use sturdy lumber to ensure it can handle the weight of stored items.
4. Installing Roofing:
With the walls and loft frame in place, it's time for the roof. Follow the instructions on your chosen roofing material. Start by attaching the roof trusses (pre-fabricated ones are a good option for beginners) to the top of the wall frames. Then, add the roofing felt and shingles or other chosen material.
5. Adding the Siding:
Once the roof is on, you can add your siding. This is both functional (protection from the elements) and aesthetic. Make sure to seal any gaps to prevent water damage.
Phase 3: Finishing Touches â€" Adding the Details
The final stages are all about making your shed comfortable and functional.
1. Installing Doors and Windows:
Choose appropriate doors and windows for your shed, making sure they’re securely installed and weatherproof.
2. Building the Loft Access:
Now you'll need a way to get to your lovely loft! You can build a ladder, install a staircase, or even add a pull-down ladder for easier access.
3. Adding Interior Finishing:
This is where you can personalize your space. You might consider adding shelving, painting the interior walls, or installing lighting.
4. Landscaping Around the Shed:
Give your new shed a beautiful setting by landscaping the surrounding area. This could involve adding gravel, plants, or even a small patio.
Commonly Asked Questions
- How long does it take to build a DIY loft shed? This depends on your experience and the complexity of your design. Expect anywhere from a weekend for a very simple structure to several weeks for a more elaborate shed.
- How much does it cost to build a DIY loft shed? The cost varies greatly depending on materials and size. You can expect to save a significant amount compared to hiring a contractor, but budgeting is still crucial.
- Do I need any special skills? Basic carpentry skills are helpful, but plenty of online resources and YouTube tutorials can guide you through the process.
- What if I make a mistake? Don't worry! Mistakes happen. Take your time, double-check your work, and don't be afraid to ask for help from more experienced builders or online communities.
- What about insulation? If you plan to use the shed year-round, insulation is a wise investment. Consider adding insulation to the walls and roof to keep the shed warmer in winter and cooler in summer.
- Can I add electricity? Yes, but you'll need to consult an electrician to ensure it's done safely and according to code.
Building your own DIY loft shed is a rewarding experience. With careful planning and a little patience, you'll soon be enjoying your new space! Remember to always prioritize safety, take your time, and don't be afraid to ask for help along the way.