


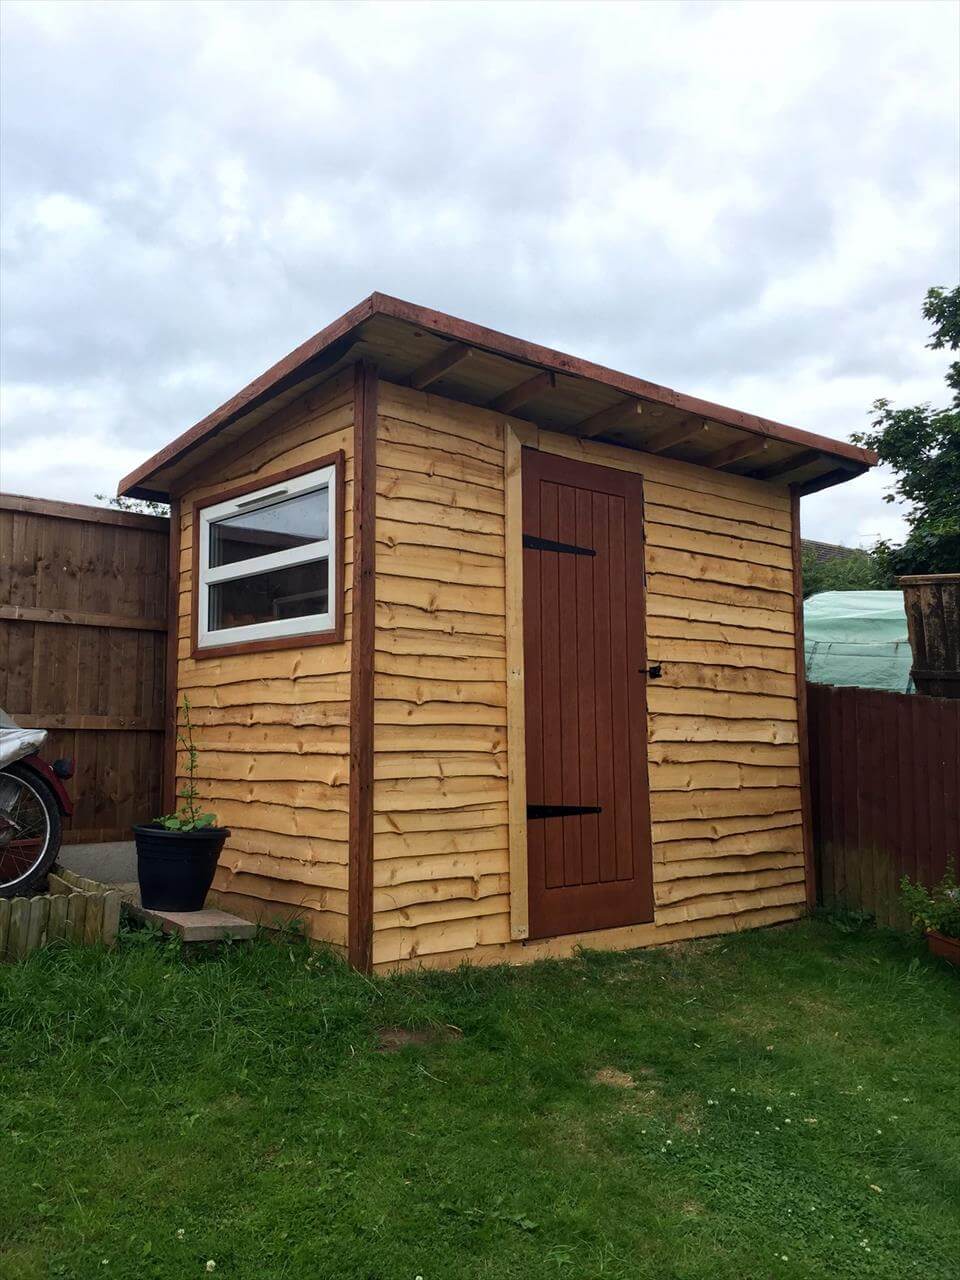
Constructing a Rustic and Simple Pallet Shed for Your Yard
This comprehensive guide details the construction of a rustic and simple pallet shed, ideal for adding functional storage to your outdoor space while maintaining a charming aesthetic. The project leverages readily available reclaimed pallet wood, minimizing material costs and promoting sustainable practices. While straightforward in design, meticulous planning and execution are crucial for ensuring structural integrity and longevity. This guide will walk you through each stage, from initial planning and material sourcing to the final finishing touches.
Phase 1: Planning and Preparation
Before commencing construction, careful planning is paramount. This phase involves determining the shed’s dimensions, location, and required materials. Inadequate planning can lead to significant complications and potentially compromise the structural soundness of the finished project.
1.1 Determining Shed Dimensions and Location
The first step involves defining the desired size of your pallet shed. Consider the storage needs and the available space in your yard. A smaller shed (e.g., 6ft x 4ft) is suitable for storing smaller gardening tools and equipment, whereas a larger structure (e.g., 8ft x 8ft) might accommodate lawnmowers, bicycles, or other larger items. Accurate measurements are essential for determining the required number of pallets and other materials.
The chosen location should be level, well-drained, and accessible. Consider proximity to power sources if you intend to install lighting or electrical outlets. Ensure the location complies with any local building regulations or homeowner association guidelines.
1.2 Material Sourcing and Assessment
The primary material for this project is reclaimed pallets. Source pallets from local businesses, construction sites, or recycling centers. It is crucial to inspect pallets carefully before use. Discard any pallets exhibiting significant damage, rot, or signs of pest infestation. Prioritize pallets constructed from sturdy, pressure-treated lumber for optimal durability.
In addition to pallets, you will require:
- Concrete blocks or a suitable foundation base.
- Screws and nails (galvanized or exterior-grade).
- Wood preservative or sealant (exterior-grade).
- Roofing material (e.g., corrugated metal, asphalt shingles).
- Optional: Hinges, latch, and handle for the door.
- Measuring tape, level, saw, drill, and other basic carpentry tools.
Phase 2: Foundation and Base Construction
A solid foundation is vital for the stability and longevity of the shed. This section outlines the construction of a simple and effective foundation using concrete blocks.
2.1 Preparing the Ground
Clear the chosen location of any debris, vegetation, or loose soil. Level the ground using a shovel and rake to create a flat and even surface. Mark the perimeter of the shed using stakes and string to ensure accurate placement of the foundation.
2.2 Laying the Concrete Blocks
Position concrete blocks along the marked perimeter, ensuring they are level and evenly spaced. You may need to adjust the ground level slightly to achieve a perfectly level base. Use a level to verify the horizontal alignment of the blocks. Consider using a spirit level for maximum accuracy.
Phase 3: Pallet Assembly and Structure
This phase involves assembling the pallets to form the shed’s walls and roof. This requires careful planning and precision to ensure structural integrity.
3.1 Wall Construction
Begin by assembling the pallets to create the shed’s walls. This typically involves stacking pallets vertically, securing them together using screws or nails. Pre-drill pilot holes to prevent splitting the wood. Ensure the walls are plumb and square, using a level and measuring tape for accurate alignment. For added strength, consider using corner bracing or additional support beams.
3.2 Roof Construction
The roof design can vary, but a simple gable roof is recommended for its simplicity and effectiveness. Assemble the roof frame using pallets or additional lumber, ensuring the frame is securely attached to the walls. Once the frame is complete, attach the chosen roofing material (e.g., corrugated metal sheets or asphalt shingles), ensuring proper overlapping and sealing to prevent leaks.
3.3 Door Installation (Optional)
If desired, incorporate a door into your design. This can be constructed from additional pallets or purchased pre-made. Attach hinges and a latch to secure the door. Ensure the door operates smoothly and securely.
Phase 4: Finishing and Refinement
Once the structure is complete, apply a protective finish to enhance its durability and aesthetic appeal. This phase involves treating the wood and adding final details.
4.1 Wood Treatment
Apply a high-quality exterior wood preservative or sealant to all exposed surfaces of the pallets. This helps protect the wood from moisture, rot, and insect infestation, extending the life of your shed. Allow adequate drying time before adding any other components.
4.2 Final Touches
Once the sealant is dry, consider adding finishing touches such as a coat of paint or stain to enhance the aesthetic appeal. You can also install shelves or additional storage solutions inside the shed. Clean up any debris left from construction. Ensure that the shed is secure and stable before use.
Phase 5: Safety Precautions and Considerations
Safety should be paramount throughout the entire construction process. Always wear appropriate safety gear, including safety glasses, gloves, and work boots. Use caution when operating power tools and follow manufacturer's instructions carefully. Ensure proper ventilation when using paints, sealants, or other chemicals. Inspect the shed regularly for any signs of damage or deterioration.
Remember that this guide provides a general overview. The specific details of your construction will depend on your individual needs, available materials, and local regulations. Always consult with a qualified professional if you have any questions or concerns about the structural integrity of your project. Proper planning and careful execution will result in a durable, attractive, and functional pallet shed that enhances your outdoor space for years to come.


No comments:
Post a Comment